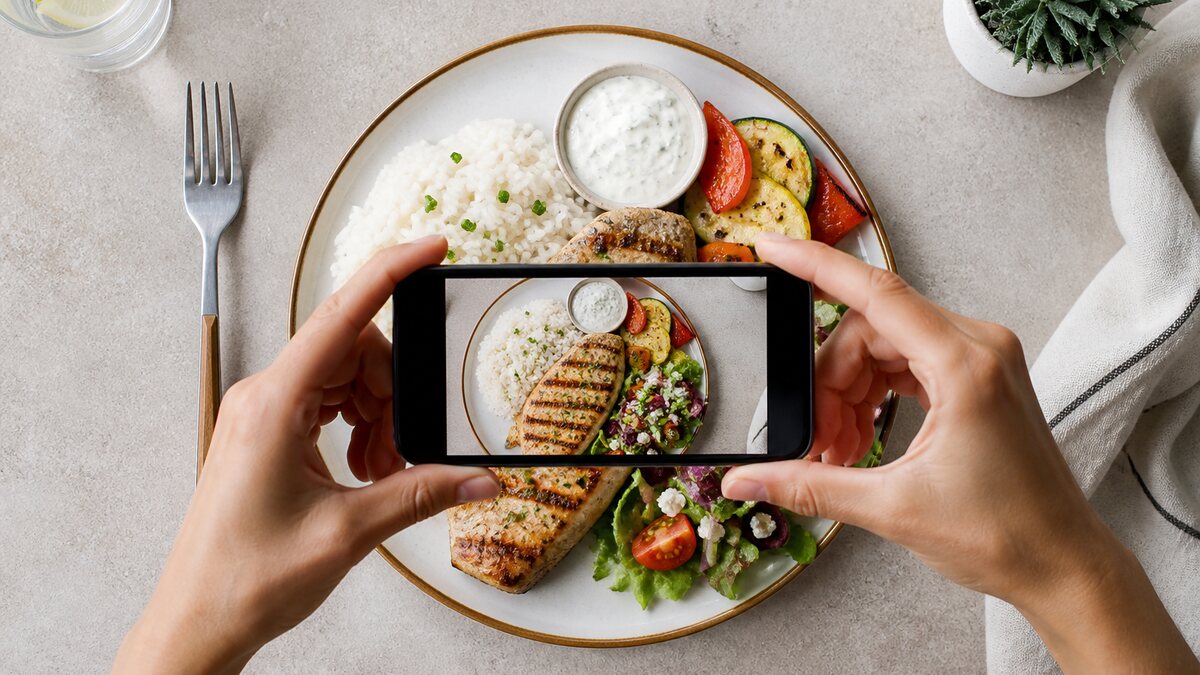
A food photo can preserve details that disappear once a meal starts: the number of dumplings, the size of the fries, and which sauces came on the side. It cannot measure calories by itself. Hidden oil, recipe differences, and bowl depth remain uncertain.
The best tracking photo is therefore not the prettiest image. It is a clear record that helps you—or an estimating tool—identify components, judge scale, and ask better follow-up questions.
Photograph before the first bite
Take the photo when the full order is present and undisturbed. Include sides, dips, bread, and the drink if you intend to log the whole meal. A close-up of the main dish may look attractive while excluding half the order.
If courses arrive separately, take one quick image per course. For shared plates, photograph the original dish and, if practical, your serving. This creates evidence for both the total and your portion.
Use two informative angles
An overhead image shows the plate layout and counts discrete items well. A roughly 45-degree image shows height and container depth. Together they reduce common errors: a deep bowl that looks like a flat plate, or stacked food hidden in a side view.
Keep the phone far enough away to include the plate rim. Avoid extreme wide-angle close-ups, which enlarge food nearest the lens. You do not need studio equipment; stable framing and ordinary restaurant light are enough.
Give the image a scale reference
Plate diameter, a standard fork, chopsticks, or a clearly sized package can provide context. Do not place random objects on the food. If the menu lists weight, volume, or number of pieces, capture that text as a separate image or note.
Scale is still approximate. Plates and cutlery vary, and perspective distorts dimensions. Use it as one clue rather than converting pixels into an exact weight.
Make every component visible
Move ramekins beside the plate and open takeout containers. If safe and socially comfortable, separate overlapping items enough to show counts. Photograph a sandwich whole, then the cross-section if the filling is otherwise hidden.
Useful details include:
- sauces served separately and how much remains afterward;
- the number and size of bread slices or tortillas;
- protein hidden under garnish;
- cheese, nuts, avocado, or fried toppings;
- beverages and their labeled sizes;
- shared starters before people serve themselves.
Do not rearrange hot food in a way that risks burns or compromises hygiene. A written note can replace a missing angle.
Pair the photo with menu context
Images identify appearance; menus identify intent. Save the restaurant name, exact dish, ingredient description, cooking method, and selected options. “Crispy chicken with sesame glaze” provides information the pixels cannot reliably infer.
Use official nutrition facts for an exact standardized item whenever available. Restaurant nutrition facts versus estimates explains why those data generally outrank a visual guess, while still requiring adjustments for substitutions and leftovers.
Record what happened after the photo
A before-photo describes what arrived, not what you consumed. Take a simple after-photo when significant food remains, or note fractions and untouched components: half the rice, all the fish, dressing mostly left, one of three tacos packed.
For mixed dishes, leftovers may not have the same component ratio as the original serving. If mostly noodles remain and the protein was eaten, do not merely log half of every macro.
Avoid common photo mistakes
- Too close: the plate edge and sides disappear.
- Only overhead: bowl depth and stacks are hidden.
- Dim colored light: sauces and cooking methods become harder to identify.
- Filters or portrait blur: texture and boundaries are altered.
- Several dishes touching: ownership and portions become unclear.
- No menu name: visually similar dishes can have different recipes.
If lighting is poor, use the phone’s exposure control or move the plate slightly toward existing light. A harsh flash may flatten texture, but a sharp flash photo can still be more useful than a dark one.
Review the estimate, not just the picture
Upload the evidence to a restaurant calorie tracker and check the result component by component. Trayly’s estimate is reviewable; it is not a laboratory measurement. Correct food identity, portion, sauces, and sides before saving. The AI accuracy guide describes the uncertainty that remains.
A good food photo does not promise exact calories. It prevents avoidable ambiguity. Capture the whole meal, show depth and scale, attach menu facts, and record leftovers. Those small habits make estimates more transparent and repeatable.